Adding a Custom Entity
This tutorial walks you through creating a compact Redstone Golem entity with Anvil. It targets Anvil beginners who already understand Minecraft concepts. Each step explicitly marks what's necessary and what's optional.
Define the Entity
from anvil.api.actors.actors import Entity

# Namespace is inferred from your anvilconfig; only provide the short name here.
def redstone_golem():
    entity = Entity("redstone_golem")
    return entity
Warning
Declare an Entity with a unique name (e.g., "redstone_golem"). The namespace comes from anvilconfig.
Export rule
You must queue the entity later with entity.queue(...). If you skip this, the framework will not export the entity.
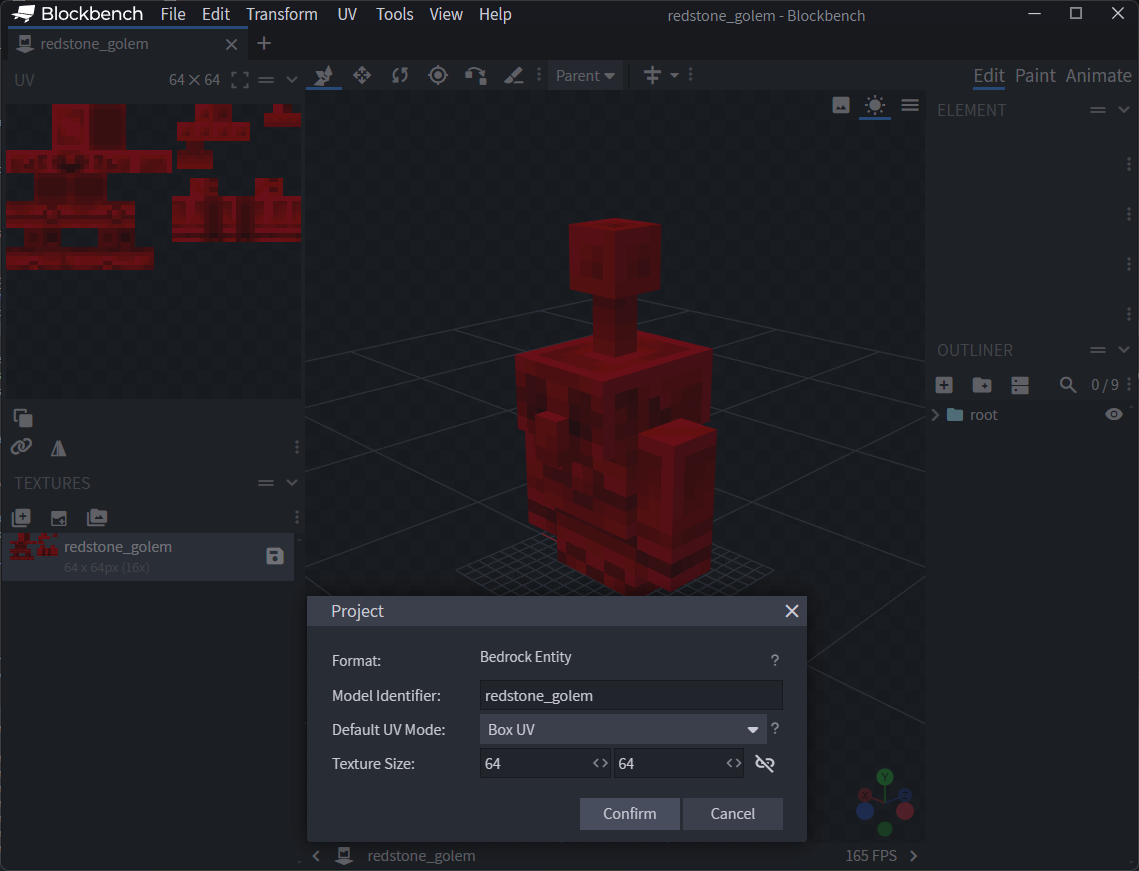
Client Description
from anvil.api.pbr.pbr import TextureComponents

# These identifiers must exist in your Blockbench asset and match internal names.
entity.client.description.geometry(entity.name)
entity.client.description.texture(
    blockbench_name=entity.name,
    component=TextureComponents(color="redstone_golem")
)
Blockbench references
The first argument in description.geometry, description.texture, and description.animation points to a Blockbench file under assets/blockbench. The geometry/texture names inside that file must match what's being referenced or Anvil raises an error.
PBR Support
You can add PBR textures for advanced rendering: TextureComponents(color="redstone_golem", normal="redstone_golem_normal", mer="redstone_golem_mer") enables normal mapping and metalness/emissive/roughness effects.
Material defaults
Anvil automatically adds a default material named entity_alphatest. You can define additional materials as needed.
Failure
Visuals are mandatory. Without a geometry + texture defined on the client description, nothing is renderable and the export is skipped.
What if I want an invisible entity?
Use entity.client.description.dummy() for a non‑rendered, logic‑only entity.
Render Controller
rc = entity.client.description.render_controller("default")
rc.geometry(entity.name)
rc.textures("redstone_golem")
Warning
A render controller is required for the model to appear in‑game.
Optional tuning
You can later add per‑part visibility, hurt/on‑fire colors, or other visual tweaks. These are optional.
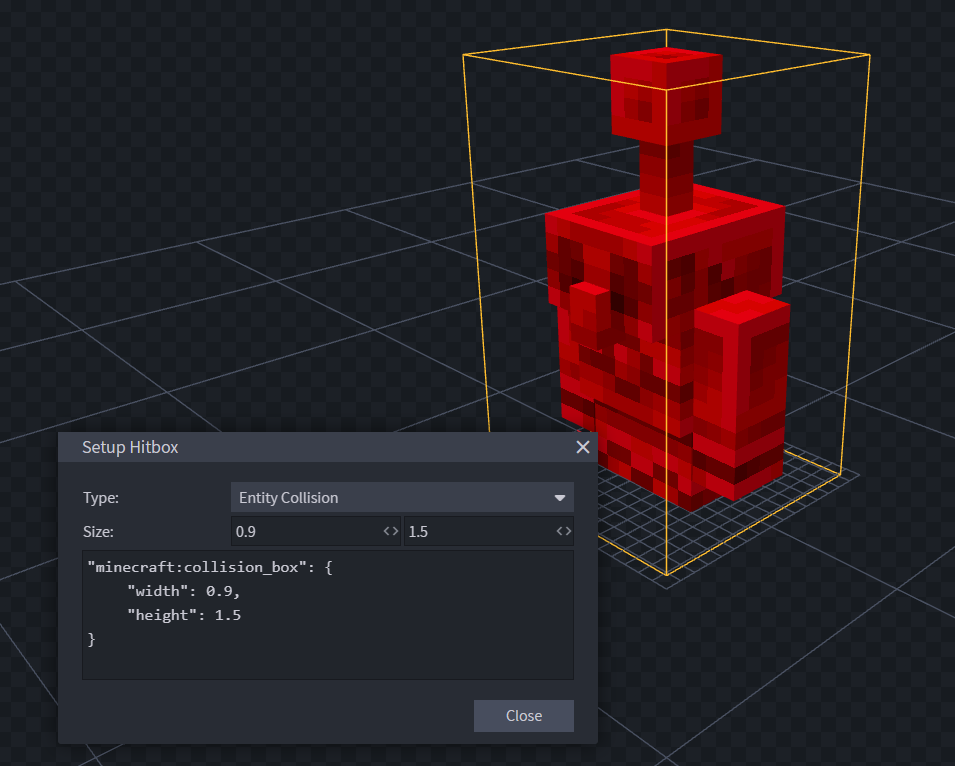
Server Components
from anvil.api.actors.components import (
    EntityCollisionBox,
    EntityPhysics,
    EntityPushable,
    EntityHealth,
)

entity.server.components.add(
    EntityCollisionBox(1.5, 0.9),   # compact golem hitbox
    EntityPhysics(True, True),      # affected by gravity + can move
    EntityPushable(True, True),     # can push/be pushed
    EntityHealth(20, 20),           # 20 HP (10 hearts)
)
Note
There are no minimum required server components. With none, the entity has no attributes (no collision, physics, etc.). Add components only for the behaviors you need.
Summonable
Note
Marking the entity Summonable lets you it with commands /summon namespace:redstone_golem.
Queue the Entity
Success
Queuing is mandatory. If you don't call entity.queue(...), the framework will not export the entity.
Queue groups
The argument to queue(...) is an export group. Anvil places generated files under <group>/. Choose any grouping string that fits your project layout.
Full Example — Redstone Golem
from anvil.api.actors.actors import Entity
from anvil.api.actors.components import (
EntityCollisionBox,
EntityPhysics,
EntityPushable,
EntityHealth,
)
from anvil.api.pbr.pbr import TextureComponents
def redstone_golem():
entity = Entity("redstone_golem")
# Client visuals (mandatory)
entity.client.description.geometry(entity.name)
entity.client.description.texture(
blockbench_name=entity.name,
component=TextureComponents(color="redstone_golem")
)
# Render (mandatory)
rc = entity.client.description.render_controller("default")
rc.geometry(entity.name)
rc.textures("redstone_golem")
# Server (optional)
entity.server.description.Summonable
entity.server.components.add(
EntityCollisionBox(1.5, 0.9),
EntityPhysics(True, True),
EntityPushable(True, True),
EntityHealth(20, 20),
)
# Finalize (mandatory)
entity.queue("misc")
return entity
RedstoneGolem = redstone_golem()
Advanced Features
Entity Events
You can define complex event chains to manage entity state, such as phases in a boss fight.
from anvil.api.actors.components import EntityScale, EntityHealth

# 1. Define Component Groups
entity.server.component_group("phase_1", EntityScale(1.0))
entity.server.component_group("phase_2", EntityScale(1.5), EntityHealth(100))

# 2. Define the Transition Event
# Note: Events do not need a namespace prefix if internal to the entity
phase_transition = entity.server.event("transform_to_phase_2")

# 3. Chain actions: Remove old state -> Add new state -> Trigger side effects
phase_transition.sequence.add("phase_2").remove("phase_1")
phase_transition.sequence.trigger("spawn_minions")
phase_transition.sequence.trigger("restore_health")

# 4. Run commands on event
entity.server.event("restore_health").queue_command("effect @s regeneration 100")
Related Systems
- Loot Tables: Define drops using the Loot Table API.
- Trade Tables: Create trading options using the Trade Table API.